For many years I’ve been experimenting with many ways to host a website.
I started in 2003 with free hosting supporting only HTML/CSS websites. Later on, I tried Raspberry Pi next to my router, VPS, Cloud solutions and recently Intel NUC.
For the last couple of years I was considering starting a blog and a few weeks ago I started looking for a good solution. I wanted something simple, easy to configure, easy to support, stable and as safe from hackers as modern web software can be.
I will write less than few posts per month so I don’t need anything like WordPress and I don’t need any database.
The final criteria were:
- does not need a database server;
- can generate static web pages;
- can be hosted for free somewhere with my domain;
I was on my way to start node.js blog platform when I found Jekyll. It’s not something hard to find, because Jekyll is powering GitHub Pages for years, but I never think of it.
In short, Jekyll is Ruby-based solution for converting markdown files into static HTML pages. Changing themes is quite easy, there is good support for plugins and tutorials over the Internet. Of course, in case I need something fancy I can write HTML instead of markdown.
Starting with Jekyll
First I need Ruby. MacOS has it by default, but I use newer version through RVM. Another option is rbenv.
Installing Jekyll is quite easy as written on the homepage:
$ gem install bundler jekyll
$ jekyll new my-awesome-site
$ cd my-awesome-site
/my-awesome-site $ bundle exec jekyll serve
# => Now browse to http://localhost:4000
Writing content
The index page and all the static pages can be placed in the root directory. Blog posts are stored in _posts. This convention is needed because Jekyll is scanning the directories to find what to be rendered. When the browser requires /about, Jekyll is searching for about.html or about.md in the home directory.
The same applies to blog posts. When a browser is requesting the entry point for the blog, Jekyll needs to know which files to parse and which pages to show.
Every page starts with metadata, e.g. for this page in the first lines I have:
---
layout: post
title:  "Jekyll and GitHub Pages"
date:   2018-07-29 15:27:04 +0300
tags: [jekyll, github-pages]
---
This way Jekyll knows which layout to parse, what title to show in the browser and more.
Customizing the layout
Changing theme requires just two steps:
- install the theme through
gem - change the
themesetting in _config.yml
List of themes is available here
In my case, I wanted to build something custom to refresh my HTML/CSS knowledge so I ended having few files in _layout, _includes and /assets/css. More on custom theme can be found in the documentation.
After choosing Jekyll the answer to my hosting solution was clear. Why pay for hosting when I can deploy my blog to GitHub Pages?
How to host a website in GitHub Pages
GitHub pages are just an HTML view of the GitHub repos in *.github.io subdomain. To open a homepage with format username.github.io, GitHub pages is looking for a repo with the same name in username’s profile.
In my case I have georgialexandrov.github.io
That’s all required to have github.io website. Even simple README.md is enough to have something online.
Now every repo with enabled GitHub pages documentation will be available in username.github.io/repo-name. The main website requires the website to be in the master branch, but for all the other repos there are 3 options:
masterbranch;docsfolder in the master branch;gh-pagesbranch;
Adding a custom domain is quite easy. It requires just a file with name CNAME in the repository. The content is just the domain name, in my case:
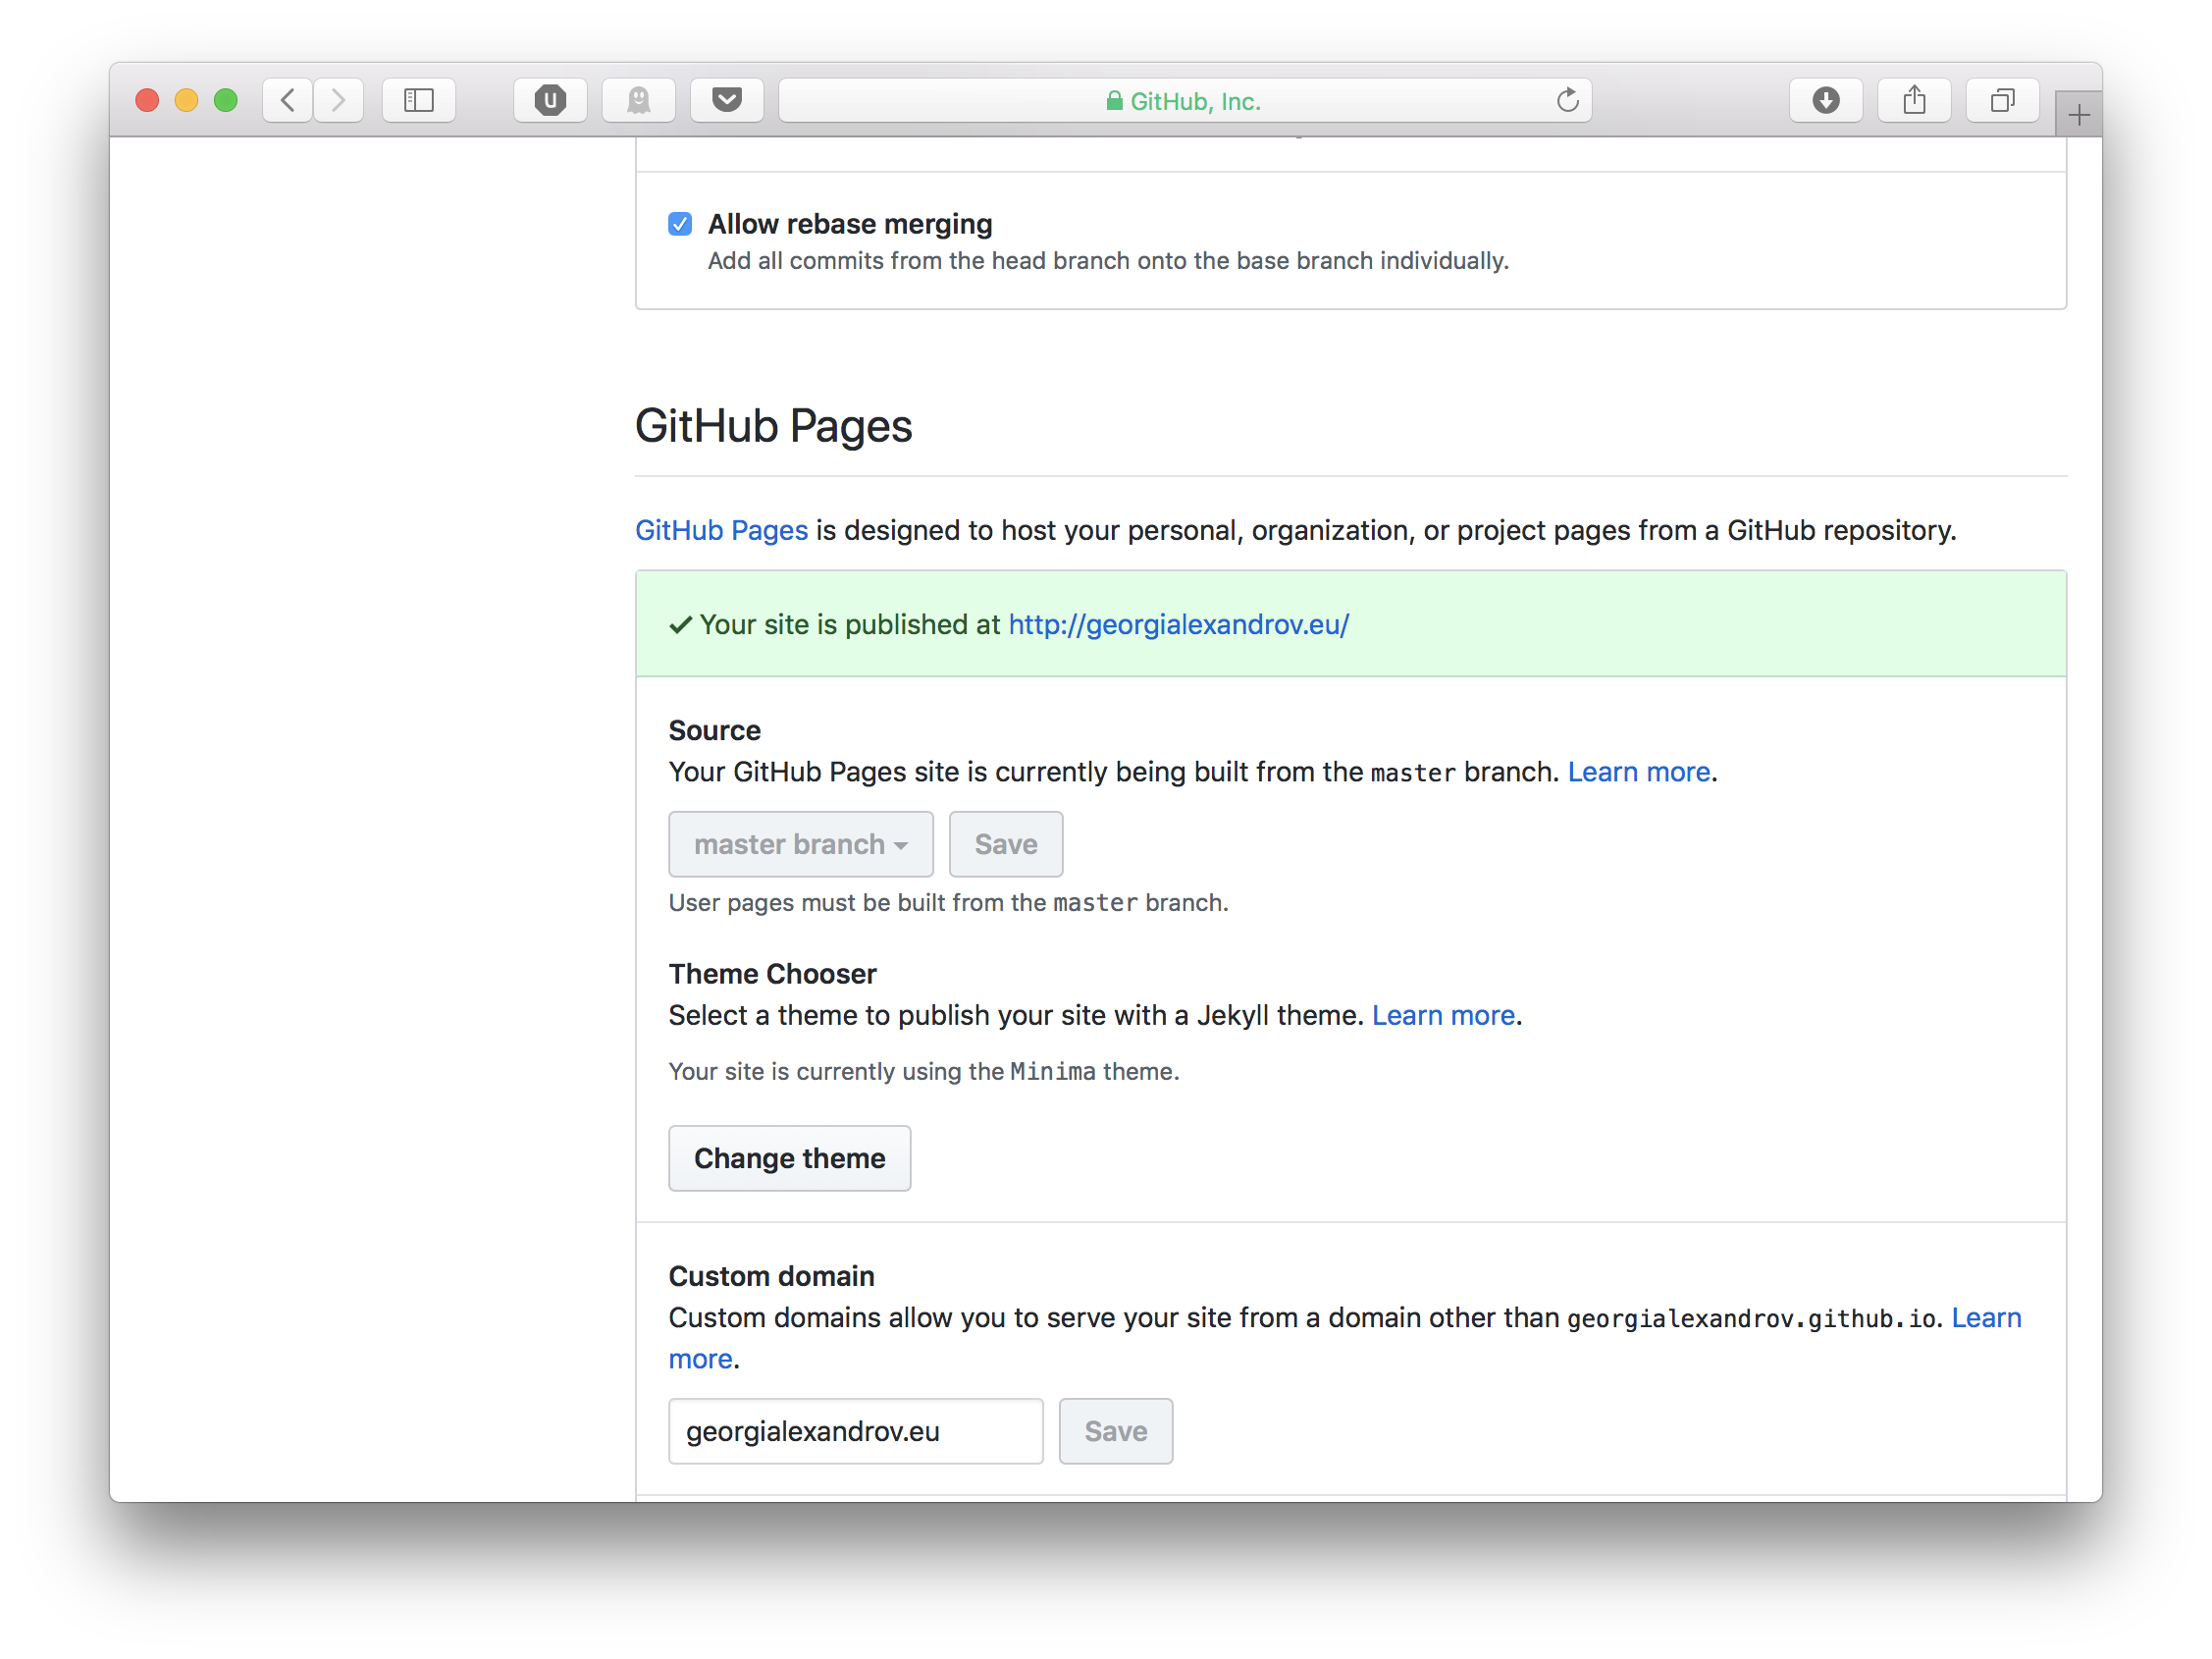
georgialexandrov.euAn alternative solution to add the domain name is the repository Settings page. In both cases the end result will be just a CNAME file:

Once having the domain added I needed to configure A records with the DNS provider to point to GitHub Pages DNS IPs, which at the time of writing this blog post are:
- 185.199.108.153
- 185.199.109.153
- 185.199.110.153
- 185.199.111.153
For actual IPs better check GitHub Help page
The change may take up to 24 hours to take effect, but changing the computer or router DNS settings to 1.1.1.1 can force the refresh.